Saturday, November 27, 2010

ENGADINER CROSTATA - THE DARING BAKERS

dk-group-1
As incredible as it sounds, the end of November is already here. Another month has passed and yet another Daring Bakers’ challenge has been made. Now it's time to let the whole world admire our creations...

The 2010 No
vember Daring Bakers’ challenge was hosted by Simona of "Briciole" who chose to challenge Daring Bakers’ to make "Pasta Frolla" for a "Crostata". She used her own experience as a source, as well as information from Pellegrino Artusi’s "Science In The Kitchen And The Art Of Eating Well".

Nut Tart 2 bis
When I learnt that we were going to make a "Crostata", an Italian baked dessert tart, and that we were free to fill it in whichever way we wanted I was really excited and was looking froward to play the wizard in the kitchen. After some thinking and research, I came up with a marvelous idea. I was going to bake an "Engadiner Crostata", a tart lined with "Pasta Frolla" (sweet Italian shortcrust pastry) and garnished with a caramelized walnut filling that is generally used when preparing the traditional "Engadiner Nusstorte".

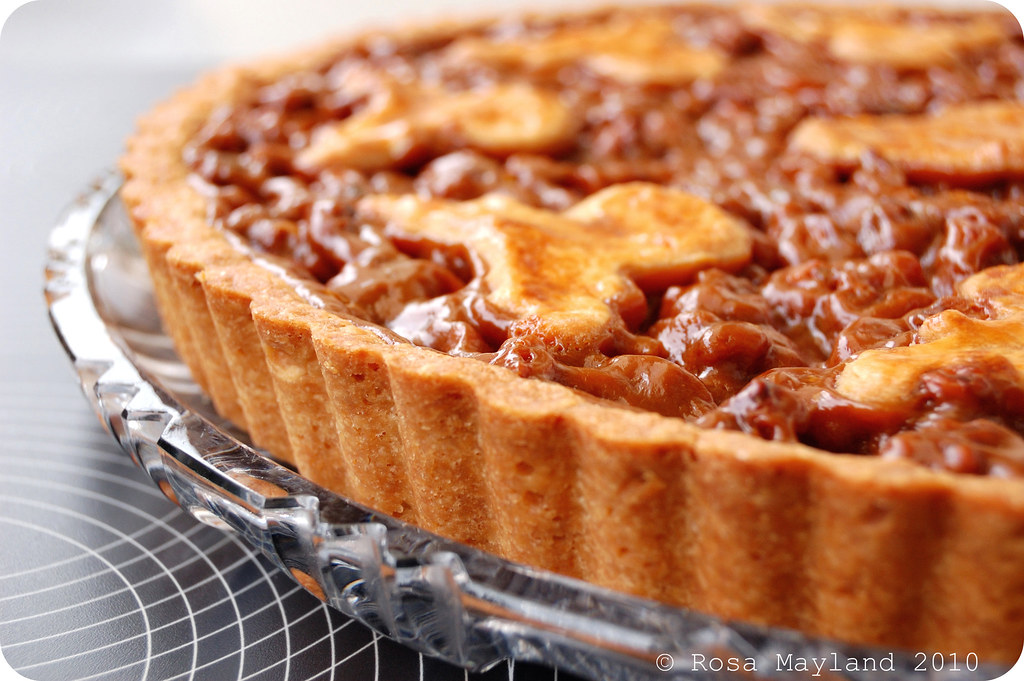
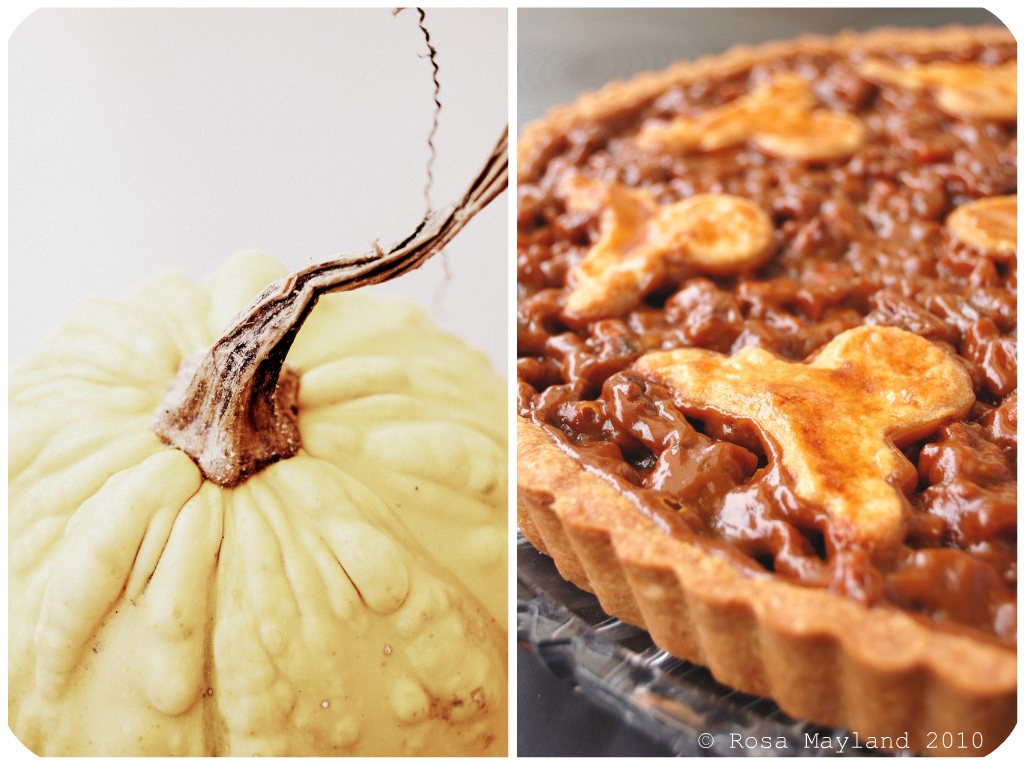
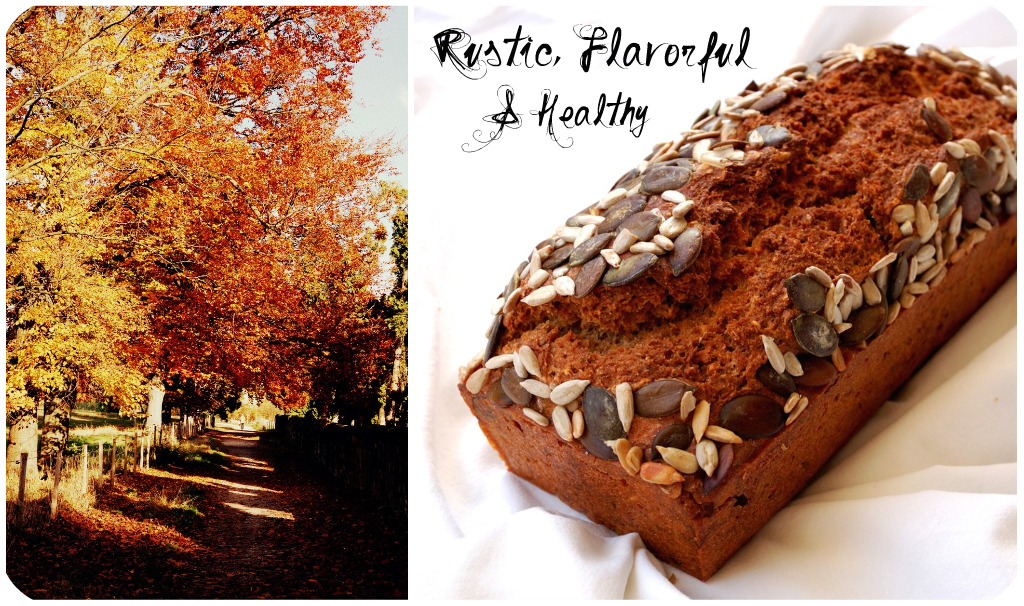
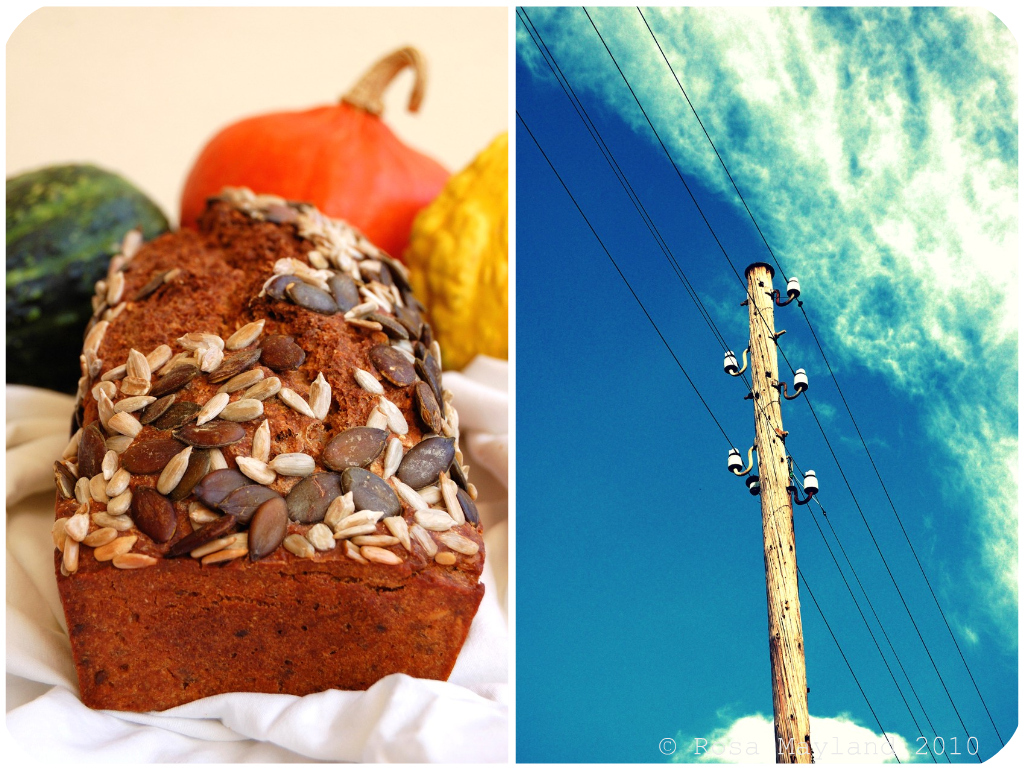
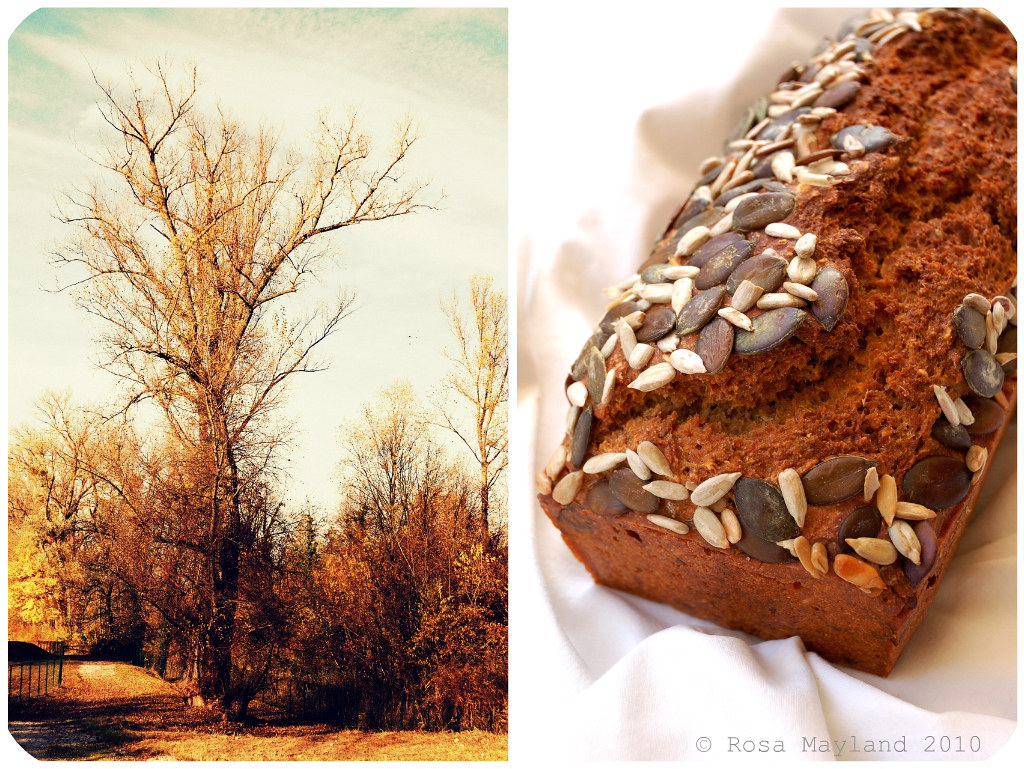
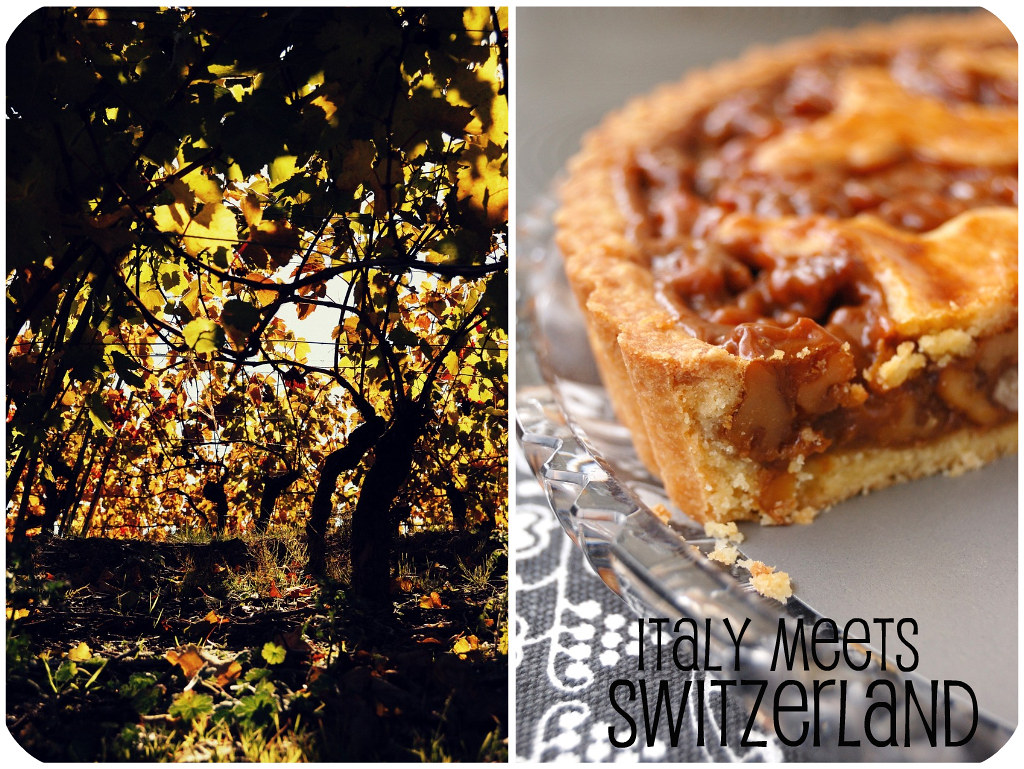
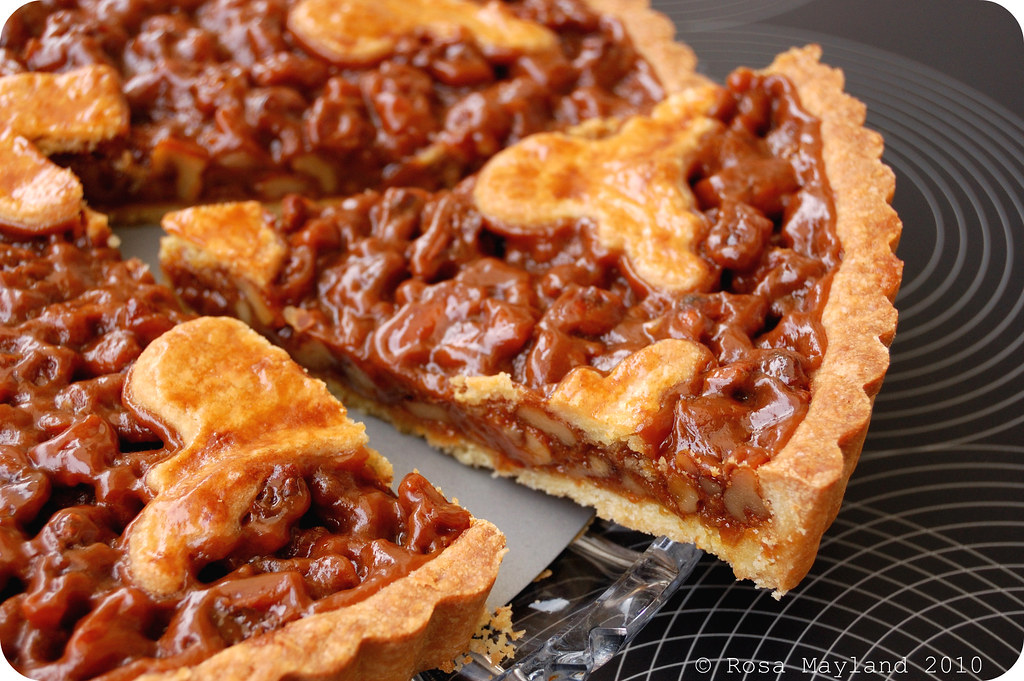
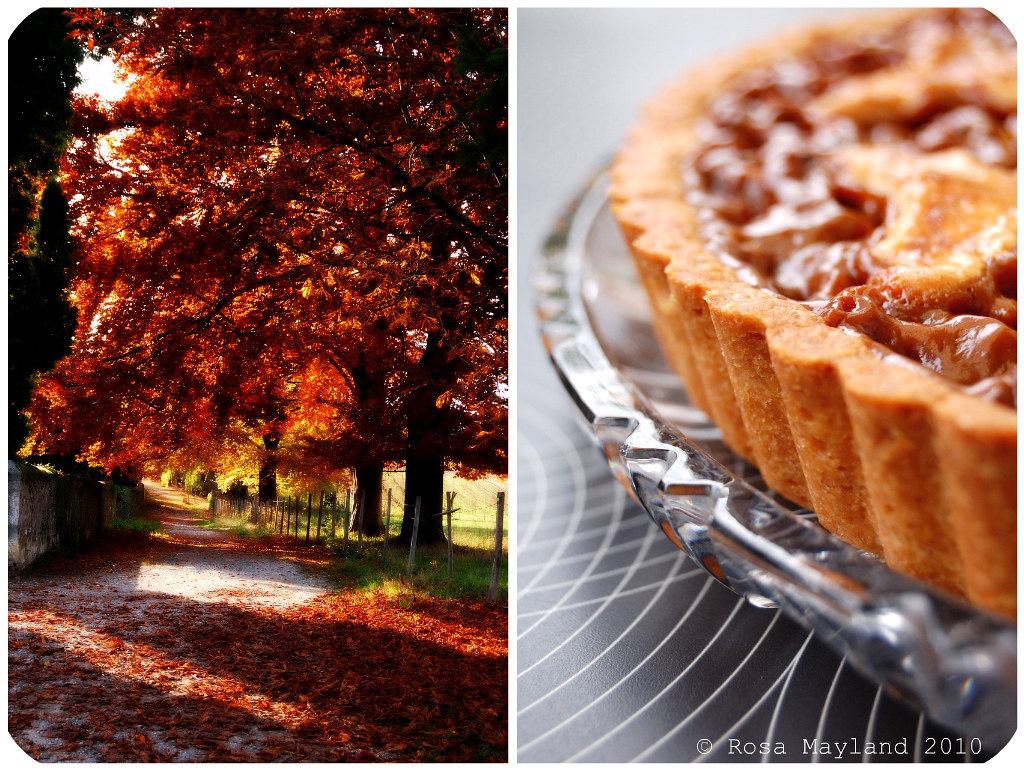
"Engadiner Nusstorte" (also called "Bündner Nusstorte") is a Swiss walnut and toffee pie from Engadin in Graubünden with a two-piece sweet crust (a little similar to the American "Pecan Pie"). It is my very favorite dish from my childhood and it's still something I cannot think about without drooling uncontrollably or eating without reaching the seventh sky. As far as I can remember I have always cherished that divine speciality.

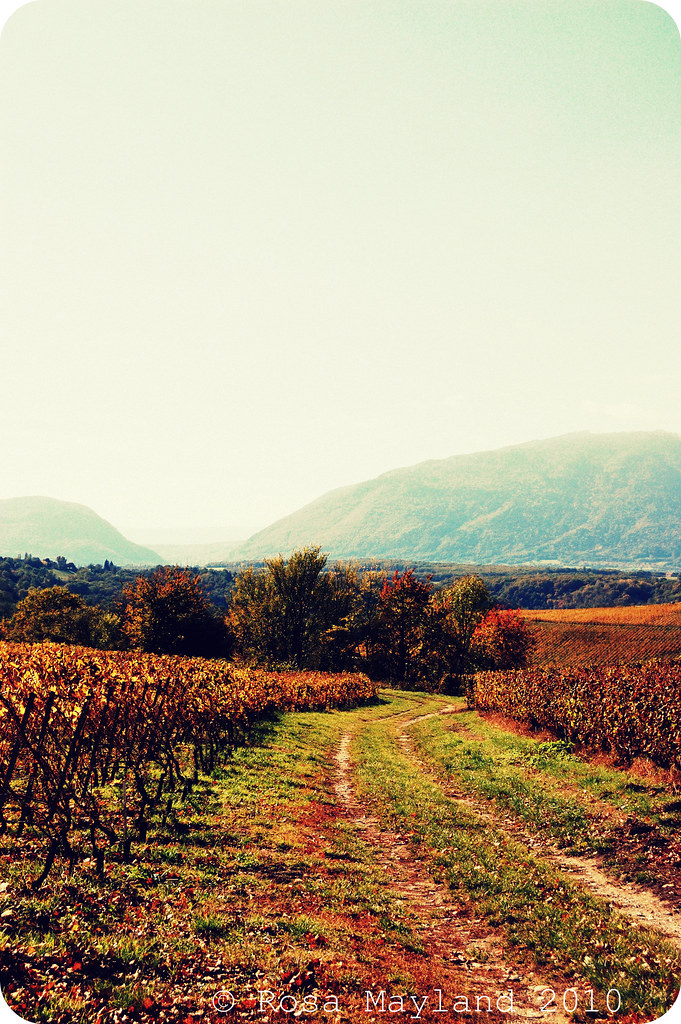
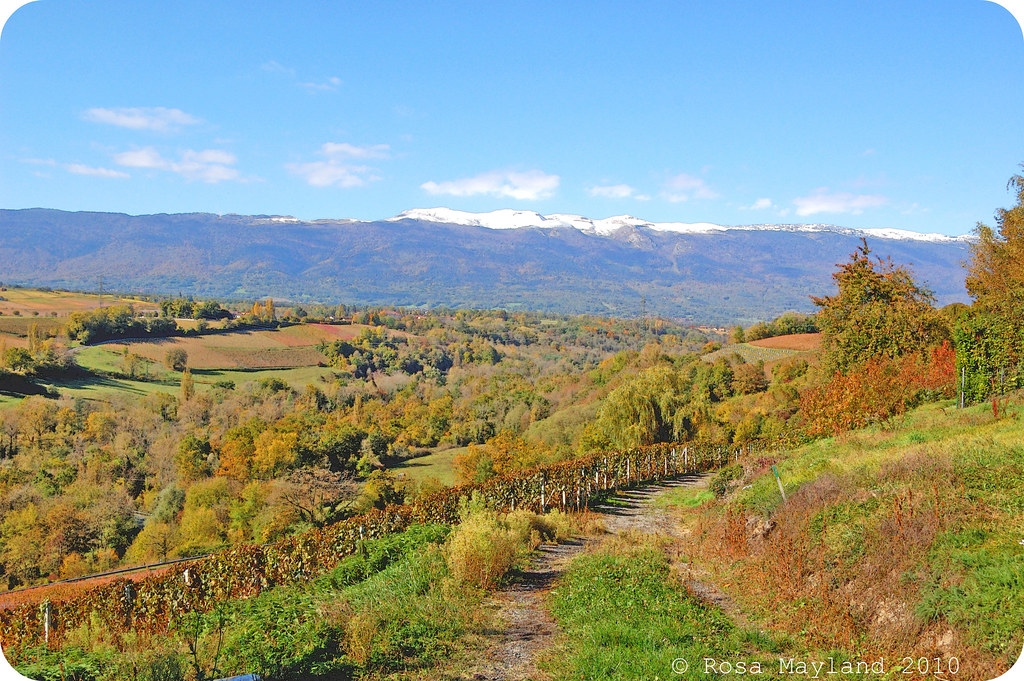
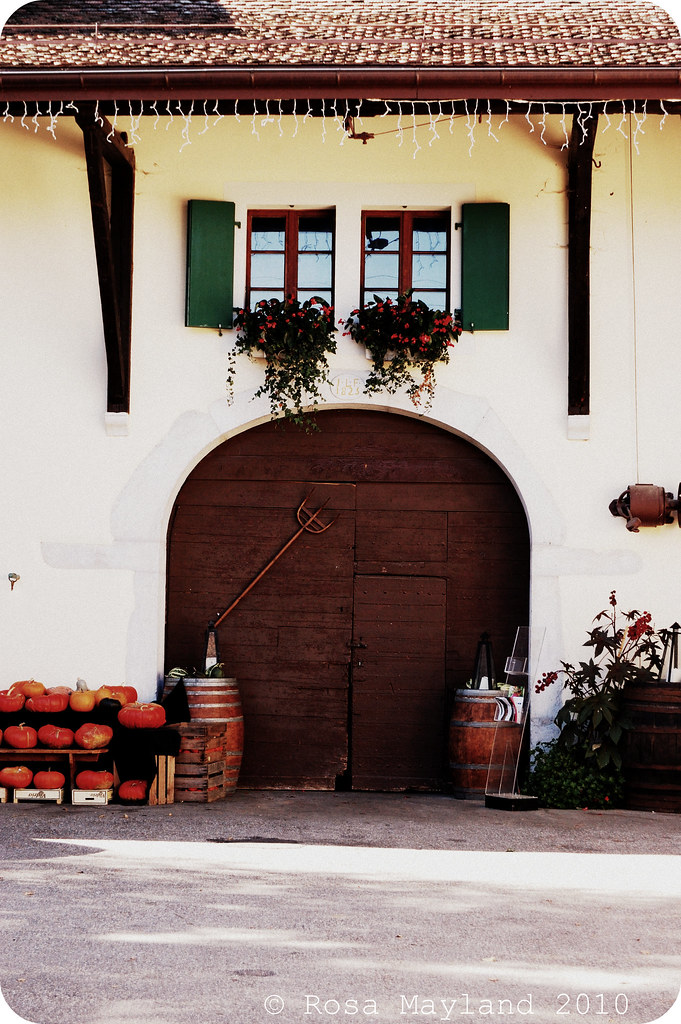
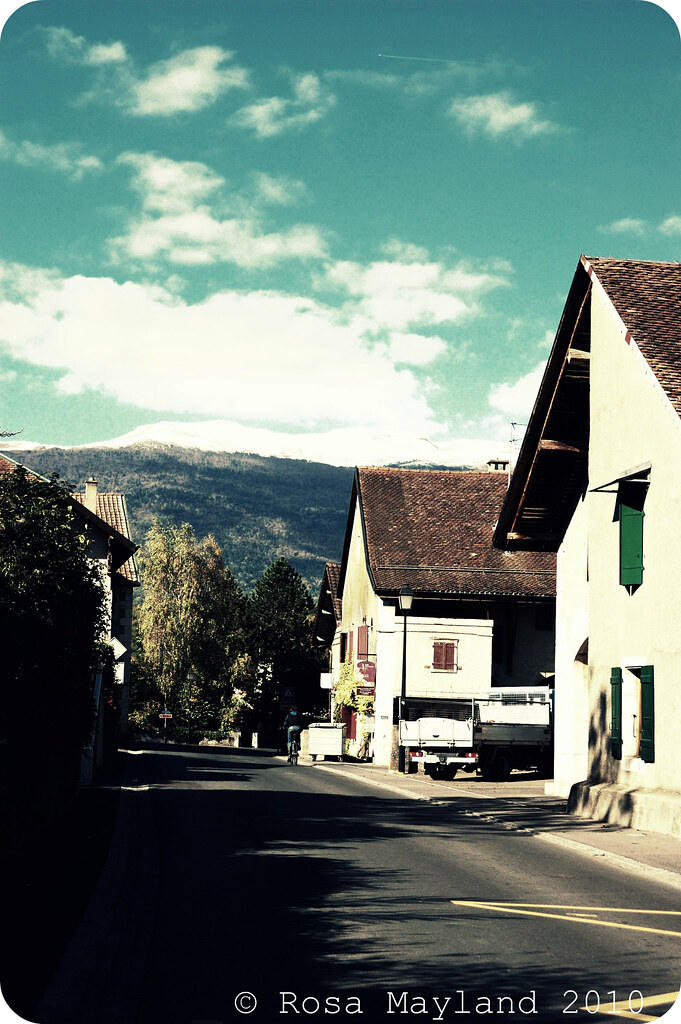
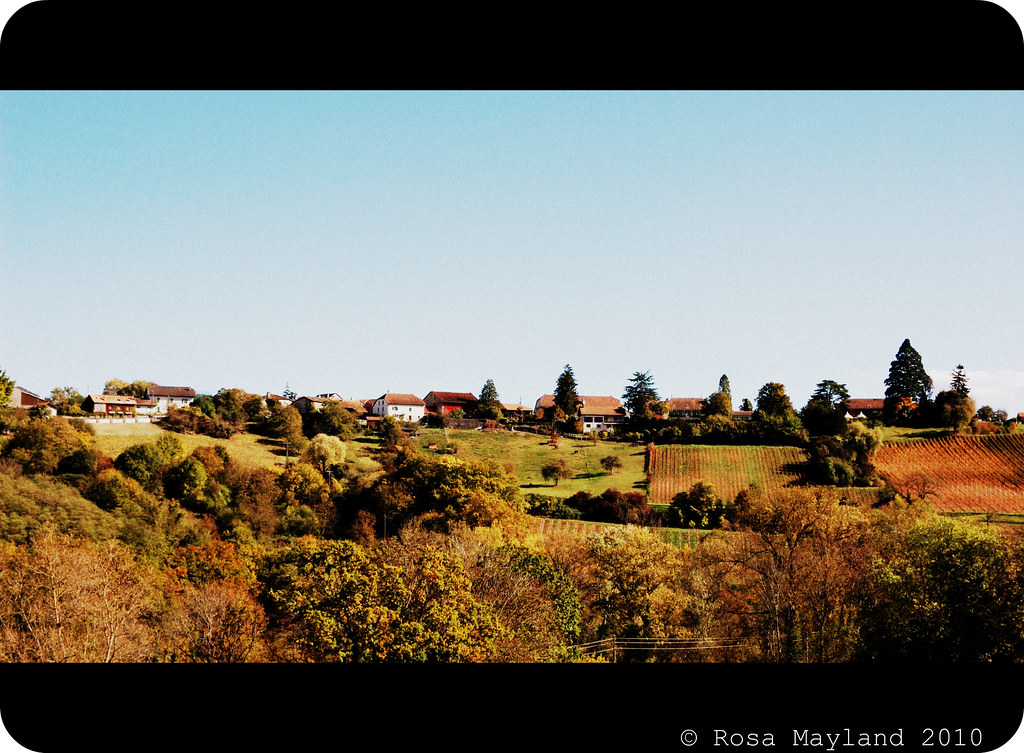
My adulation for this mouthwatering pastry can be traced back to my early years (between age 4-10). When I was a kid, although I was more used to go out for 35kms hikes in the Jura mountains during the weekend, my parents also liked taking peaceful walks around Geneva and it's surroundings
(lakeside, botanical garden & Pregny Chambésy). On such occasions we stopped at the Château De Pentes restaurant which is situated in a big park with an old manor house - originally a 14th century fortified mansion. The place is idyllic as it has a plunging view over Lake Geneva and one can see the French Alps as well as the Mont Blanc when the weather is stunning - no wonder romantics such as Mary Shelly or Lord Byron liked that place. There we had a drink and enjoyed a rewarding sugary treat. Along with my hot Ovomaltine I never failed to order a slice of the most luscious "Engadiner Nusstorte". Eating it felt like paradize and nothing could have made me more happy. It was probably one of my very first and most unforgettable foodie memories ever.

Unfortunately, as I grew up that habit faded away and then we stopped going there for Saturday teatime. As all good things have an end, that meant no more homemade "Engadiner Nusstorte" for me. Of course I could still buy it from our local Migros supermarket, but as much as it was enjoyable there was no way it was comparable to the one of my youth. And even if my mother cooked and baked a lot that is one tart she has never made. So, I had to wait until I met my "Bündner" (from canton Graubünden in Swiss Germany) boyfriend to finally have access to the authentic goodie again...

I may be quite an audacious baker and cook, yet until today I have never trusted myself to tackle that confection as I had the impression that the filling was kind of tricky to prepare. As usual, I was terribly wrong and underestimated my skills. It was extremely painless to make and totally straightforward (at the condition that you feel comfortable while working with caramel). It's texture and flavor was a complete success as I didn't fail to recreate the "real thing". It was just as it should be, no more no less.

Putting together the pastry was plain simple and not fussy at all, but the act of rolling it was shear displeasure and an absolute calamity. No matter how cold it was or how much I had floured the parchment paper the goddamn pastry inevitably HAD to stick to it and behave in a very uncooperative manner. Darn I hate making "Pasta Frolla" for that reason! Anyway, I was able to place it in the pan and make it look presentable. It did get slightly torn in the process but I repaired the damage done while unsticking it from the baking sheet and then everything was ok.

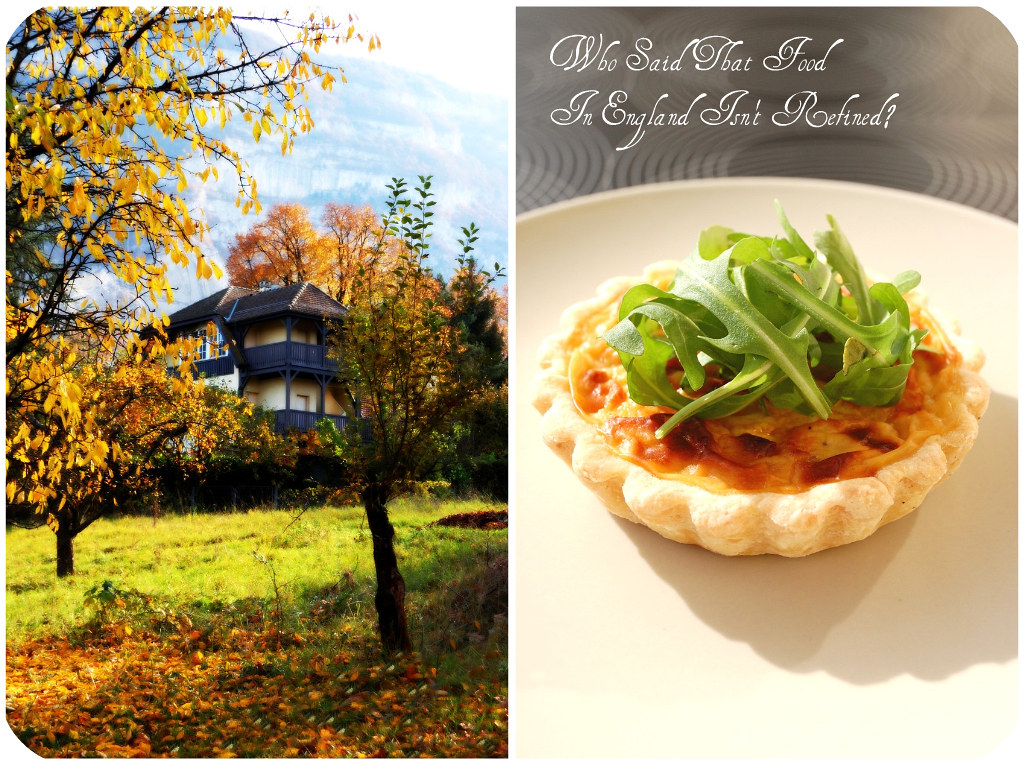
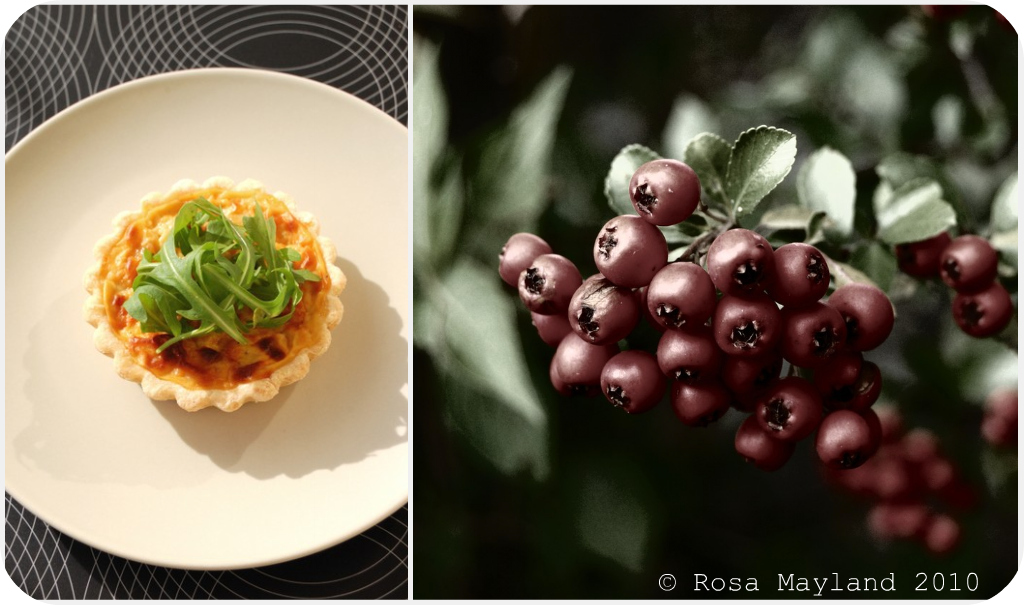
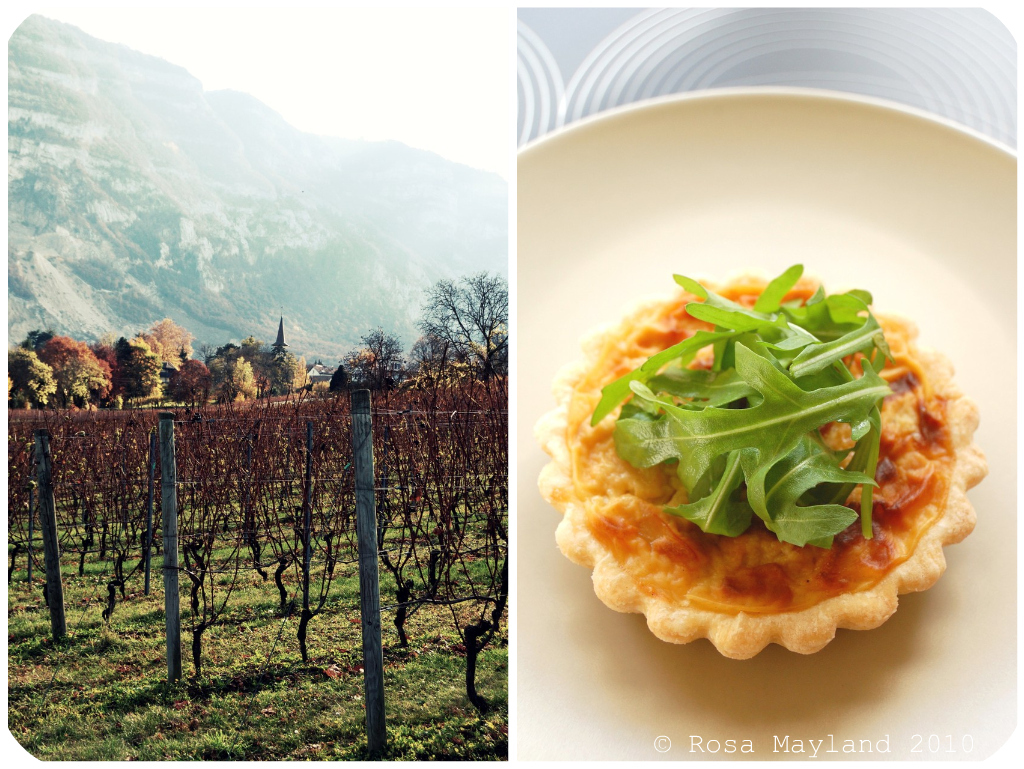
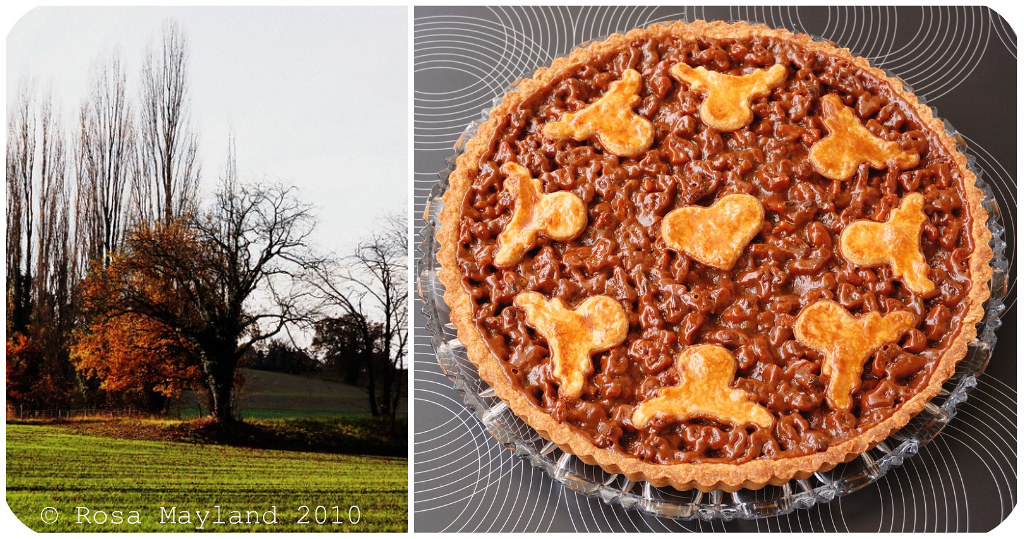
My "Engadiner Crostata" ended up looking flawlessly beautiful and made me feel very proud of myself. The buttery and flaky sweet shortcrust pastry combines perfectly together with the strongly caramelly, delightfully walnutty and moreish filling. That pairing is so scrumptious and sinfully good that it'll make you grow devil horns!

Nut Tart Picnik collage 2 bis
~Engadiner Crostata ~

Preparation time:

The following times are approximate, as the time depends on your dexterity to cut the butter and work the dough (which should not be overworked) and your familiarity with the rolling pin.

. Preparing pasta frolla with a food processor takes 10-15 minutes

. Allow the pasta frolla to chill thoroughly - two hours minimum
. Making crostata with pastry cream requires the time to make the filling

Equipment required:
. Bowls, as needed
. Fork
. Knife
. Bench (or pastry) scraper

. Rolling pin
. Pastry brush
. 9 or 9.5-inch (23-24 cm) fluted round tart pan with removable bottom, about 1 inch (2.5 cm) high. (Note: If you don't have a tart pan with a removable bottom, don’t worry! You can make crostata using a 9-inch cake pan or even a 9-inch pie plate.).

Nut Tart Picnik collage 3 bis
PASTA FROLLA

Ingredients:
1/2 Cup minus

1 tablespoon (105ml, 100g, 3 ½ oz) Superfine sugar (see Note 1) or a scant 3/4 Cup (180ml, 90g, 3 oz) of Powdered sugar
1 and 3/4 Cup (420ml, 235g, 8 1/4 oz) Unbleached all-purpose flour
A Pinch of salt
1 Stick (8 tablespoons/4 oz./115g) Cold unsalted butter, cut into small pieces
1 Tsp Pure vanilla paste
1 Large egg + 1 Large egg yolk, lightly beaten in a small bowl

Method For The "Dough":
1. Put sugar, flour, salt, and lemon zest in the food processor and pulse a few times to mix.

2. Add butter and pulse a few times, until the mixture has the consistency of coarse meal.
3. Empty food processor's bowl onto your work surface.
4. Make a well in the center of the mounded flour and butter mixture and pour the beaten eggs into it (reserve about a teaspoon of the egg mixture for glazing purposes later on – place in the refrigerator, covered, until ready to use).
5. Use a fork to incorporate the liquid into the solid ingredients, and then use your fingertips.
6. Knead lightly just until the dough comes together into a ball.
7. Shape the dough into a flat disk and wrap in plastic wrap. Place the dough in the refrigerator and chill for at least two hours (You can refrigerate the dough overnight).

Nut Tart 5 bis
WALNUT FILLING

Ingredients:
250g Castor sugar

330ml Double cream
4 Tbs Honey
300g Shelled walnuts, chopped coarsely
A pinch salt

Method:
1. In a clean pan, add the sugar and
heat it. When the sugar is starting to melt stir constantly with a whisk or wooden spoon. When all sugar crystals have melted and the liquid is a medium-dark amber color, then your caramel is ready.
2. Add the nuts and honey, stir and incorporate the cream.
3. Let the mixture simmer for a few minutes (5-8 minutes) and remove from the heat.
4. Let cool the filling.

PUTTING THE TART TOGETHER

Method:
1. Heat the oven to 350ºF (180ºC/gas mark 4).

2. Take the pasta frolla out of the fridge, unwrap it and cut away 1/4 of the dough. Reserve this dough to make the lattice top of the crostata. Refrigerate this dough while you work on the tart base.
3. To help roll the crostata dough, keep the dough on top of the plastic wrap that you had it wrapped in. This can help rolling the dough and can also help when transferring the dough to your pan. You can also use parchment paper for this. However, you can also roll the dough directly on a work surface if you prefer. Lightly dust the top of the dough and your work surface (if you’re rolling directly on a work surface) with flour. Keep some flour handy to dust the dough as you go alon g. If the dough is very firm, start by pressing the dough with the rolling pin from the middle to each end, moving the rolling pin by a pin's width each time; turn the dough 180 degrees and repeat; when it softens, start rolling. Roll the dough into a circle about 1/8th inch (3 mm) thick.

Nut Tart Picnik collage 1 bis
4. If you used the plastic wrap or parchment paper as rolling surface, flip dough over the pan, centering it, and delicately press it all around so the corners are well covered. Peel away the plastic wrap. Trim the excess dough hanging over the edges of the pan. Press the remaining dough around the border into the sides of the pan making sure the border is an even thickness all the way around.
5. Prick the bottom of the dough with a fork in several places. Take out of the fridge the reserved pasta frolla you had cut away earlier. Roll it with your pin and cut into strips or use cookie cutters to make small shapes (this is not traditional, but it looks cute); or roll with your hands into ropes.
6. Cover the bottom of the crostata crust evenly with the walnut filling.
7. Use the prepared strips or rolls of dough to make a lattice over the surface, or decorate with the cut shapes.
8. Brush the border and strips of dough with the reserved beaten eggs. You can add a drop or two of water to the beaten eggs if you don’t have enough liquid.
9. Put the tart in the oven and bake for 30 minutes. After 35 minutes, check the tart, and continue baking until the pastry is of a nice golden hue and the filling looks set. (Note: Every oven is different).
10.
When done, remove the tart from the oven and let cool. If you have used a tart pan with a removable bottom, then release the tart base from the fluted tart ring. Make sure the tart is completely cool before slicing and serving.

Nut Tart Picnik collage 4 bis

~~~~~~~~~~~~~~~~~~~~~~

Etant donné que la recette est un peu longue, je n'ai malheureusement pas pu faire une traduction française de ce billet et je m'en excuse auprès de tous mes amis lecteurs et blogueurs francophones!

C'est pourquoi je vous suggère de vous rendre sur le blog mentionné ci-desso us. Vous y trouverez cette recette en version française.

Vous trouverez la recette pour la "Garniture Aux Noix" ici (sans oublier d'utiliser 250g de sucre cristallisé, 300g de noix, 330ml de Crème double, 4 CS de miel liquide et une pincée de sel).

Recette pour la "Pasta Frolla" sur les deux blogs canadiens suivants:
Chez Isa de "Les Gourmandises d'Isa" (Canada)
Chez Vibi de "La Casserole Carrée" (Canada)

Nut Tart Picnik collage 5 bis

Wednesday, November 24, 2010

AMAZING VIEWS FROM RUSSIN

Russin 17.1 bis

Russin 16.3 bis

Russin 10.2 bis
After having walked to Dardagny and had a good look around, we decided to go back to Russin where we would take the RER (regional) train back to the central train station, Geneva Cornavin...

But we did not want to go back home without having another peek at that quaint village and it's surroundings. It is such a lovely place that I no desire to leave without taking a more in-depth tour of it. No matter how small it is there are surprises waiting for you every time you turn a corner or enter a new street.

Russin 11.1 bis

Russin 19.2 bis

Russin 14.1 bis

Russin 13.1 bis
Despite the strong wind blowing and the biting cold, it was such a clear and splendid day that it would have been a pity not to profit from the stunning view as well as landscapes that were to be admired at that very moment. The Frecnh Alps were obcenely visible and the Mont Blanc was standing proud between the small and the big Salève (see picture n°2 from the top). When such a spectacle offers itself to your eyes, you have to stare with amazment no matter how many times you've seen it all!

Russin 12.1 bis

Russin 18.2 bis

Russin 15.1 bis

Friday, November 19, 2010

SMOKED HADDOCK & GRUYÈRE TARTLETS

Haddock Tartlets Picnik collage 1 bis
I make no secret of the fact that I am a big supporter of English specialities and get mad every time I have to read or hear the moronic comments of ignorant people who have the guts to bring British gastronomy down. That irritates me to the highest point as most of the time they don't know what they are talking about and sheepishly follow the false propoganda regarding that country's food...

I mean, Great B
ritain has proved to have amazing chefs, shown the world that bad food can only be blamed on careless and inexperienced "cooks" and not on tradition (there is no bad food only bad cooks). When will certain individuals stop smirking at the word association "British Cuisine"? England not only has wonderful produces, but also an ancient cooking wisdom so it's about time that the above-mentioned folks put an end to those myths.

Being half-English and coming from a family of brilliant homecooks it is my duty to carry on those old eating customs and not lose my culinary patrimony that
is so dear to me and perpetuate my link to that island. It is for that reason that I am a big fan of beautiful magazines such as Good Food, Delicious and Jamie which offer hundreds of gorgeous recipes every month.

While browsing through one of my Good Food magazines a particular Gordon Ramsay recipe caught my attention. His "Haddock & Gruyère T
artlets" looked so scrumptious. I had to make them as soon as possible.

Smoked haddock (made with either cod or had
dock which is partially boned & lightly salted/in Scotland known under the name of "Finnan Haddie") has always been a produce I've enjoyed when I was in England. I remember that my grandmother bought it from a fish seller who travelled around with his van and sold extremely fresh goods (the fishes were still swimming in the sea no more than 3-4 hours before) out of the back of his truck. Once a week he stopped in front of my grandparents' stone cottage, honked and happily chatted with us while presenting his fantastic choice of goods . He had the most amazing fishes I have ever eaten.

Thankfully since I live extremely close to the French border (a few meters away) it is possible for me to buy smoked haddock from the Casino supermarket in Gaillard, Haute-Savoie. Although the French smoked haddock is a little dryer, a lot smokier, less plump/thick, dyed with annatto and seems to be made with whiting (and not cod nor haddock like it's English counterpart) I am already very grateful to find it in stores as it nostalgically reminds me of my holidays in Belper, Derbyshire.

As usual, I took the liberty to adapt Gordon Ramsay's recipe and ommitted to prebake the pastry and didn't serve my tartlets with a poached egg, but a bunch of arugula/rocket instead. I was really happy with the results as my "Haddock & Gruyère Tartlets" were as pretty as on the Good Food pictures and tasted just divine.

The pastry (my recipe) was delightfully flaky and beautifully golden, the filling was very
flavorful and the lighty mustardy Gruyère béchamel paired perfectly well with the smokiness and delicate fish aromas of the haddock, and the arugula added great nutty, spicy (peppery-mustardy) as well as warm notes. Definitely a dish I will make again!

Haddock Tartlets Picnik collage 6 bis
~Haddock & Gruyère Tartlets ~
Recipe for the "Shortcrust Pastry" by Rosa@Rosa's Yummy Yums & recipe for the "Haddock & Gruyère Tartlets" adapted from Gordon Ramsay.

Makes 4x 12-14cm tartlets.

Ingredients For The "Shortcrust Pastry":
300g Plain white flour (no self-raising flour)
1 Tsp Fine sea salt (you can add 1/2 Tsp more if you like the taste of salt)
150g Unsalted butter (or 100g Unsalted butter & 50g
Lard)
~80 ml Water
Ingredients For the "Tarts":
500g Shortcrust pastry (recipe above)
400g Smoked haddock with the skin
400ml Milk
2 Egg yolks
2 Tsp Mustard (Dijon, yellow, basic or English)
25g Unsalted butter
25g All-purpose flour
100g Mature AOC Gruyère, grated finely
100g Arugula (washed), to use as decoration

Method For The "Shortcrust Pastry":
1. Sift the flour and salt into a bowl/bassin.
2. Add butter and rub between the fingers until the mixture is flaky.
3. Pour in water, gradually, while continuously cutting and stirring with a knife. Stop adding water when the dough is stiff. It should not be sticky or wet. Gather up into a soft ball and place it in the fridge while you prepare the filling.
Method for the "Tarts":
1. Put the haddock in a medium saucepan and cover with the milk. Season the milk with a little black pepper and bring to a boil, then turn off the heat. Set aside until cool enough to handle.
2. Remove the fish from the milk and strain the milk into a jug.
In medium pan, melt the butter. When it has melted and is starting to sizzle, stir in the flour and cook until combined to a sandy consistency.
3. Gradually stir in the poaching milk, mixing well after each addition.
4. Bring to a boil and let simmer over a low heat for 5 minutes until you have a smooth white sauce.
6. Remove the pan from the heat, then add the Gruyère and stir.
7. Break the haddock into large flakes into a medium bowl and throw away the skin and the bones.

Haddock Tartlets Picnik collage 4 bis
8. Add the egg yolks and mustard to the haddock and stir in the cheese sauce (it should be at room temperature). Set aside.
9. Divide the pastry into 4, thinly roll out each piece, then cut out 4 circles big enough to line 4 x 12-14cm fluted tartlet pans. Press the pastry into the sides of the tin and roll the surface of the pan with your rolling pin so that the excess will fall away.
10. Preheat the oven to 200° C (400° F). Place the pans in the fridge to cool for 10 minutes, then remove from the fridge and prick the base with a fork.
11. Divide the filling between the tartlet cases, then bake for 25-30 minutes until the filling is puffed up and golden brown like cheese on toast, and the pastry is golden brown.
12. Remove from the oven and leave the tarts to cool slightly.
13. Decorate with the arugula (on top).

Remarks:
Always lift the flour out of the bowl while rubbing; it makes the butter/fl
our mixture airy.
Be careful not to add too much water as the pastry should not be stick to the touch.
While mixing the water to the flour/butter mixture never work the pastry like a bread dough, otherwise you would end up with a stiff, hard and elastic pastry.

You can replace the Gruyère by AOC Appenzeller or AOC Vacherin Fribourgeois
The filling can be made a day ahead and chilled.
The tarts can be made several hours ahead and eaten at room temperature or slightly reheated. Don't store in the fridge, or the pastry will get soggy.

Serving suggestions:
Serve the tartlets warm from the oven.
You can top it with a poached egg and chives or accompany them with a salad (lamb's lettuce).

~~~~~~~~~~~~~~~~~~~~~~

Haddock Tartlets Picnik collage 3 bis
~ Tartelettes Au Haddock Et Au Gruyère ~
Recette pour la "Pâte Brisée" par Rosa@Rosa's Yummy Yums & recette pour les "Tartelettes Au Haddock Et Au Gruyère" adaptée de Gordon Ramsay.

Pour 4 tartelettes de 12-14cm de diamètre.

Ingrédients pour la "Pâte Brisée":
300g de Farine blanche/fleur
1 CC de Sel de mer fin (ajouter 1/2 CC si vous aimez votre pâte un peu salée)
150g de Beurre non-salé, coupé en petit dés (ou 100g de beurre + 50g de saindoux)
~80ml d'Eeau très froide ou assez afin que la pâte forme une boule
Ingrédients pour les "Tartelettes":
500g de Pâte brisée (recette au dessus)
400g de Haddock fumé avec la peau
400ml de Lait
2 Jaunes d'oeufs
2 CC de Moutarde (Dijon, Thomy, américaine, forte anglaise ou douce)
25g de Beurre non-salé
25g de Farine blanche
100g de Gruyère AOC mature, râpé finement
Une poignée de roquette pour décorer

Méthode pour la "Pâte Brisée":
1. Tamiser la farine et le sel dans un bol moyen.
2. Ajouter le beurre et frotter
la farine et le beurre entre les doigts afin d'obtenir un mélange qui ait la texture sabloneuse.
3. Verser l'eau, graduellement, tout en mélangeant bien (n'ajoutez plus d'eau quand la pâte aura atteint la bonne consistance/ni trop mouillée, ni trop collante). Former une boule puis la mettre au frigo pendant que vous préparez la garniture.
Méthode pour les "Tartes":
1. Mettre le haddock dans une casserole et le recouvrir avec le lait. Assaisonner le lait avec un peu de poivre noir et porter à ébullition, puis éteindre le feu. Mettre de côté et laisser refroidir de manière à pouvoir manipuler le poisson avec les mains.
2. Sortir le poisson du lait et verser le lait dans un pot tout en le filtrant.
Dans une casserole moyenne, faire fondre le beurre. Une fois fondu et quand il commence à grésiller, ajouter la farine et bien mélanger afin que le tout soit homogène et ait une texture sabloneuse.
3. Graduellement, verser le lait (dans lequel le haddock à cuit). Mélanger après chaque ajout.
4. Porter à ébullition, puis laisser mijoter à feu doux pendant 5 minutes jusqu'à obtention d'une sauce crémeuse et assez épaisse.
6. Enlever la casserole du feu, puis incorporer le Gruyère tout en remuant.
7. Emietter le haddock (morceaux pas trop petits) et jeter la peau et les arrêtes.

Haddock Tartlets Picnik collage 5 bis
8. Ajouter les jaunes d'oeufs et la moutarde, puis la béchamel au Gruyère (à temp. ambiante) et mélanger le tout.
9. Diviser la pâte en 4 et l'étaler afin de pouvoir couper en cercles assez grands pour foncer les moules à tartelettes de 4 x 12-14cm. Une fois cela fait, se débarasser de l'excédent de pâte.
10. Préchauffer le four à 200° C. Mettre les moules au frigo pendant 10 minutes, puis les retirer du frigo et les piquer avec une fourchette.
11. Remplir chaque tartelette avec de la garniture, puis cuire les tartelettes pendant 25-30 minutes jusqu'à ce que la garniture et la pâte soient joliment dorées (suffisement cuitent).
12. Sortir les tartelettes du four et les laisser refroidir légèrement avant de servir.
13. Decorer avec de la roquette.

Remarques:
Soulevez toujours la farine lorsque vous la frottez avec le beurre: ç a apporte de l'air au mélange.
Faites bien attention de ne pas ajouter trop d'eau à votre pâte. Elle ne doit pas être collante.
Pendant que vous mélangez l'eau au mélange farine/beurre, ne la travaillez pa
s telle une pâte à pain, autrement votre pâte sera dure, élastique et pas manipulable du tout car vous aurez libéré le gluten contenu dans la farine.
Le Gruyère peut être remplacé par de l'Appenzeller AOC ou du Vacherin Fribourgeois AOC.
La garniture peut être faite le jour avant et mise au frigo.
Les tartelettes peuvent être cuites quelques heures à l'avance et mangées à température ambiante ou être réchauffées.
Ces tartelettes ne doivent pas être conservées au frigo car elles deviendront toutes molles et humides.

Idées de présentation:
Servir les tartelettes chaudes.
Vous pouvez aussi déposer un oeuf poché sur la tartelette (milieu) et saupoudrer avec un peu de ciboulette ou manger vos tartelettes avec une bonne salade (mâche).

Haddock Tartlets Picnik collage 2 bis

Wednesday, November 17, 2010

DARDAGNY, A PLACE WHERE WINE & BEAUTY MEET

Dardagny 1.1 bis

Dardagny 3.1 bis
In my photography post last week I talked about a little village called Russin which is situated in the largest wine-growing area in the Canton Geneva. Well once we had walked around it's streets, admired the pretty country houses and eaten our cold mini pizzas, we decided to hike (3kms one way - plan here) through the vineyards in the direction of another quaint yet slightly bigger place called Dardagny...

So, we strolled along a sinewy hill that led us down into a valley where the river Allondon flows peacefully towards the Rhône, went up a hill covered with steep fiery-red vineyards and headed for the idyllic Dardagny (pictures 4,5 & 6).

Dardagny 10.1 bis

Dardagny 4.2 bis

Dardagny 9.1 bis

Dardagny 6.3 bis
Dardagny is not only a village, but also a commune which is situated on a tiny hill at 495m above sea level and has about 1316 inhabitants. There, the vineyards are spread on harsh slopes, many different types of cereals grow on the plateaus and vast hardwoods spread till the foot of the Jura mountains.

One thing that is striking upon arriving in Dardagny is the amount of private wine cellars where you have the opportunity to buy and sample the local pruducts. Everywhere you turn your head there's either one cavern on your left or right! The wine tradition is so big in the region and many very good wines are produced there (Reds: Gamay, Pinot Noir, Cabernet Sauvignon, Gamaret, Zinfandel & Garanoir, all oaked or unoaked/Whites: Chasselas, Aligoté, Chardonnay, Gewurztraminer, Sauvignon Blanc, Pinot Blanc & Viognier). After all Geneva is a canton that has about hundred wineries producing a range of high-quality wines (8-12 million litres of wine annually)...

Visit Robert's blog ("Lamiacucina", in German). He reviews some wine from Dardagny.

Dardagny 8.1 bis

Dardagny 7.2 bis

Dardagny 5.1 bis

Friday, November 12, 2010

NORWEGIAN MOUNTAIN BREAD - PAIN RUSTIQUE NORVÉGIEN

Norwegian Bread Picnik collage 5 bis
I like to think of myself as an adventurous and daring cook/baker. Of course, there are times when life is chaotic and I just simply don't feel like staying in the kitchen for hours. It is when one feels lazy and tired that certain simple and unpretentious recipes come in handy...

Last Saturday I really had no desire to spend more than 2 hours baking bread. It was a sunny and warm day, and there was no way I was going to stay in the apartment considering the fact that the weather prognoses for Sunday were dreadfully awful.


So, as I am in a very Scandinavian- (music, culture & films) and healthy-oriented period at the moment it is not surprising that my attention was captured by Nigella Lawson's "Norwegian Mountain Bread" recipe while I was surfing on expat Siri's blog ("The Transplanted Baker").

I dare you to find a more uncomplicated and rapid bread recipe! There is absolutely no kneading, rising or shaping involved (the loaf rises in the oven). The only thing you have to do is weigh and mix all the ingredients together, pour the dough into the baking pan, put it in the oven and then keep an eye on the clock and the thermostat knob. Magic, no?

For such an inelaborate and rustic bread the result was remarkable. It was very flavorful, aromatic, pleasantly moist, wonderfully seedy, interestingly dense/compact, slightly sweet and so enjoyable. It somehow reminded me of Valais Rye Bread (Walliser Roggenbrot), German Pumpernickel, Swedish Rägbröd or Danish Ruggbrød, only without the sourness (since it is not made with sourdough).

This excellent "Norwegian Mountain Bread" is perfect when served with cheese, smoked salmon, Gravlax or cured meats such as Pastrami or corned beef. I'm sure you'll be delighted by this bread's unique aroma and texture.

This bread is getting yeastspotted by Susan’s Yeastspotting!

Norwegian Bread Picnik collage 4 bis
~ Norwegian Mountain Bread ~
Recipe adapted from Nigella Lawson's "How To Be a Domestic Goddess".

Makes one medium-sized loaf.

Ingredients:
1 Cup plus 2 Tbs (250ml) Milk or buttermilk, lukewarm
1 Cup plus 2 Tbs (250ml) Water, lukewarm
2 Cups (255g) Whole-wheat flour
1/2 Cup (64g) Rye flour
2 1/4 Tsp (1/4 oz./7 g) Active dry yeast
1/4 Cup (50g) Rolled oats (not instant)
1 1/2 Tsp Fine sea salt
1 Tbs Light brown sugar
8 Tbs Blend of any of the following (preferably all)
- Wheat germ
- Sunflower seeds
- Flaxseeds (linseeds)
- Pumpkin seeds
- Wheatbran

Method:
1. Mix the milk, water and yeast together in a measuring jug and let rest for about 10 minutes. Combine all the other ingredients in a large bowl.
2. Pour the liquid into the dry ingredients, stirring all the while to make a sticky mixture. Then beat for about 2-3 minutes.
3. Butter your loaf pan well, pour the dough into the pan, sprinkle a few extra seeds and oats over the surface of the bread, and place in a cold oven (middle).

Norwegian Bread Picnik collage 2 bis
4. Turn the on oven to 100° C (225° F). After 30 minutes, turn it up to 175° C (325° F) for one hour (see remarks).
5. When the loaf begins to get nice and brown, take it out of the oven, run a butter knife along the sides of your pan and let rest for 5 minutes, then carefully remove the bread from the pan.
6. Allow the bread to cool thoroughly on a rack in order to prevent the insides from g
etting gummy.

Remarks:
As I had no wheatbran or wheat germ, I used 3 tbs sunflower seeds, 3 tbs flaxseeds and et 2 tbs pumpkin seeds.
Nigella recommends poking the bread with a cake tester or fine skewer to make sure it's done, ie: the skewer will come out clean. You may wish to return the loaf to the oven for an extra 10-15 minutes if you judge that it hasn't baked enough (that's what I did).

Serving suggestions:

Slice thinly and serve with cheese, dry, cured or cold cooked meat, smoked salmon, Gravlax or smoked herring/mackerel.

~~~~~~~~~~~~~~~~~~~~~~

Norwegian Bread Picnik collage 1 bis
~ Pain Rustique Norvégien ~
Recette adaptée de "How To Be a Domestic Goddess" par Nigella Lawson.

Pour un pain moyen.

Ingrédients:
250ml de Lait ou de babeurre, tiède
250ml d'Eau, tiède
255g de Farine complète
64g de Farine de seigle
2 1/4 CC (7g) de Levure sèche
50g de Flocons d'avoine
1 1/2 CC de Sel de mer fin
1 CS de Sucre brun clair
8 CS d'un mélange des ingrédients suivants (tous)
- Germes de blé
- Graines de tournesol
- Graines de lin
- Graines de courge
- Son de blé

Méthode:
1. Dans un récipient, mélanger ensemble le lait, l'eau et la levure et laisser de côté pendant 10 minutes. Dans un grand bol, mélanger ensemble tous les ingrédients restants.
2. Verser le liquide dans les ingrédients secs tout en mélangeant bien afin d'obtenir une pâte collante, puis la battre pendant 2-3 minutes.
3. Beurrer un moule rectangulaire de taille moyenne et verser la pâte dedans. Saupoudrer avec des flocons d'avoine et des graines et placer dans le four froid (milieu).

Norwegian Bread Picnik collage 6 bis
4. Régler le four à 100° C. Après 30 minutes, augmenter la température à 175° C et continuer à cuire le pain pendant 1 heure (voir remarques).
5. Quand le pain commence à devenir brun et qu'il a une belle croûte, le sortir du four et le dégager des bords du moule avec un couteau. Puis, après 5 minutes le sortir du moule et le poser sur une grille.
6. Faire refroidir le pain complètement avant de le consommer (afin d'éviter que l'intérieur soit "gommeux").


Remarques:
J'ai utilisé 3 CS de graines de tournesol, 3 CS de graines de lin et 2 CS de graines de courge car je n'avait pas de son de blé ou de germes de blé.
Nigella recommande de tester le pain avec la pointe d'un couteau afin d'être bien sûr que le pain soit cuit (dans ce cas la lame en ressort propre). Il vous faudra alors peut-être remettre le pain dans le fourra pendant 10-15 minutes (si vous jugez que le pain est pas assez cuit - ce que j'ai fait).

Idées de présentation:
Couper en tranches très fines et servir avec du fromage, de la viande séchée, de la charcuterie ou du roastbeef froid, du saumon fumé, du Gravlax ou du maquereau/harreng fumé.

Norwegian Bread Picnik collage 3 bis

Wednesday, November 10, 2010

RUSSIN, A VILLAGE IN THE VINEYARDS

Russin 1.1 bis

Russin 3.1 bis

Russin 2.2 bis
During our holidays we had planned to travel to Lyon, spend the day there, buy lots of traditional food specialities, eat in a Bouchon and spend the day there. Unfortunately, the Gods were against us (we never have luck) as the French strike had to fall exactly at that moment. Most of the trains were cancelled and so was our TGV. What a bummer!

Anyway, we refused to let ourselves get depressed and decided to get the best out of our day. Instead of trav
elling to another country, we chose to stay in Geneva and visit the scenic vineyard region at the foot of the French Jura mountains. So, we took the bus to the train station and there we got into a little regional train that drove us to the small village of Russin.

Russin 5.1 bis

Russin 9.1 bis

Russin 4.3 bis
Russin is situated in the largest wine-growing area in the Canton Geneva and is the country's third-largest wine producing canton. Everywhere you go, you see vineyards (clayish and sandish soils) and wineries. It is impossible to walk there without seeing that wine is at the center of everything. It is the perfect place to discover new wines, especially if you are in the vicinity during the "Fête Des Vendanges" (grape harvest festival in September) or the "Portes Ouvertes" (open wine cellars day in May).

When we were there in October the weather was quite wintery. Although the vineyar
ds were magnificent with their fiery fall foliage and the sun was shining wonderfully, the air was extremely crisp and a strong northern wind (bise) was blowing. The landscapes were mindblowing, the colors so soul-uplifting and the Mont-Blanc stood proudly in the horizon. Amazing!

Russin 7.2 bis

Russin 8.1 bis

Russin 6.3 bis